
GIB Stopping Done Right: How To Achieve a Perfect Finish Every Time
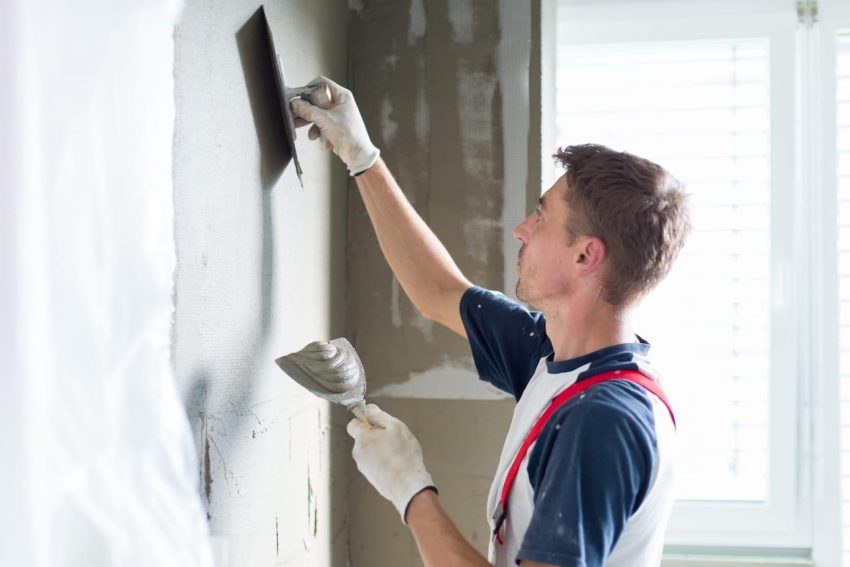
GIB-stopping is an important part of finishing construction projects in Auckland. This is a complex task that takes a lot of skill and attention to get a perfect finish. Here are a few tips to help you complete your stopping job with confidence, whether it’s a domestic or commercial project.
Prepare the area with care
Preparation is the key to success when it comes to gib stopping in Auckland. Make sure the wall is clean and free of dust before you start. This part of the task may require a damp cloth, or a vacuum cleaner. You should also make sure that the area is completely dry before continuing. Moisture can interfere with the adhesion of the sealant and prevent it from curing properly.
Choose Your Materials With Care
Choose the correct GIB board grade for your project. There are many grades, and you need to choose one that is compatible with the GIB board and the intended surface. Choose a sealant that is compatible with the GIB boards and surface you intend to use, as well as one that can be used for both interior and exterior applications.
Sealant Application
Next, you will need to apply your sealant. This depends on whether you are using an acrylic or silicone. It’s better to use two thin coats of acrylic sealants than one thick one. This will give you a more even finish and improve adhesion. Spread silicone-based products in a “W” formation to ensure that they adhere evenly. Always follow the manufacturer’s instructions during this step!
Finalizing Your Project
After all surfaces have been covered, use a rubber float or your finger to smooth any edges. Then, allow the product to dry until it is fully hardened. Again, check the instructions for each brand to find out specific timeframes. It’s time to inspect! After the sealant has dried, check for gaps and air bubbles. If you find any, fill them in with additional sealant. Congratulations! Your GIB-stopping project is complete once everything looks good.
Tips for GIB Stopping:
- Before starting, make sure that the wall is clean.
- Select materials with care – upgrade/types must match strength/fire resistance standards
- When applying acrylic sealants, apply them in thin layers Apply silicone products using a “W” formation
- After applying the adhesive, smooth down all edges.
- Allow to cure in accordance with product instructions
- After curing, check for air bubbles or gaps.
Benefits to GIB stopping correctly:
- The perfect finish
- Energy efficiency improvements
- Noise reduction
- Compliant with Industry Standards
- Safety is increased
- Interiors with a more inviting atmosphere
- Improved market value
These simple steps can help you ensure that GIB stops are done correctly every time! You can create stunning walls with the right preparation and by checking industry regulations.

Leave a Reply