
How To Repair A Washing Machine: A DIY Guide
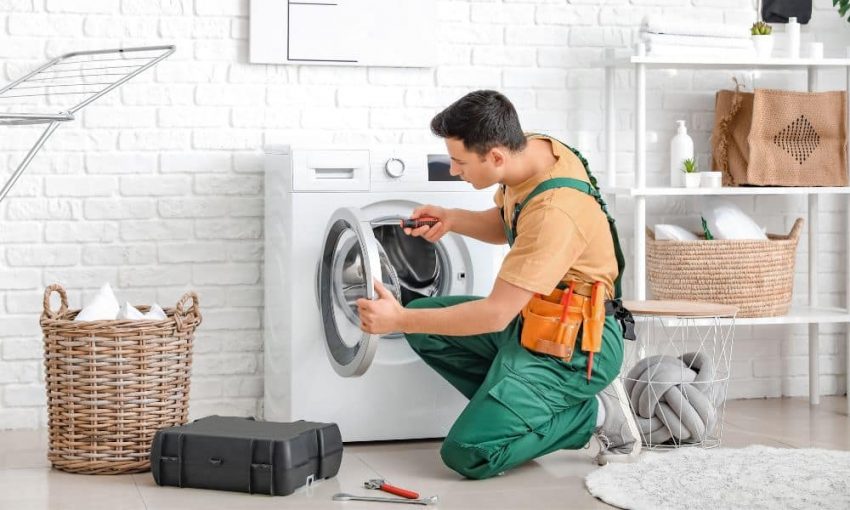
Washing machines are indispensable appliances in modern households, simplifying the chore of laundry. However, like any other appliance, they are prone to wear and tear over time. Knowing how to troubleshoot and repair your washing machine can save you time and money. In this comprehensive guide, we will walk you through the process of DIY washing machine repair, ensuring your appliance remains in optimal condition for years to come.
Understanding the Basics
Before diving into repairs, it’s crucial to understand the basic components of a washing machine. Typically, a washing machine comprises an inner and outer tub, agitator or impeller, water inlet and drain hoses, motor, and control panel. Common issues such as leaks, excessive noise, or failure to start can often be attributed to problems with these components.
Safety Precautions
Safety should always be a top priority when dealing with electrical appliances. Before attempting any repairs, ensure you have the necessary safety gear, including gloves and goggles. Additionally, disconnect the washing machine from power and water sources to avoid accidents.
Tools Required
To effectively repair a washing machine, you’ll need a set of basic tools readily available in most households. These include a screwdriver set, pliers, adjustable wrench, multimeter, and flashlight. Having the right tools at hand will streamline the repair process and ensure precision.
Step-by-Step Guide
1. Identifying the Problem
Begin by identifying the issue with your washing machine. Is it leaking water, making unusual noises, or failing to spin? Take note of any symptoms or error codes displayed on the control panel, as they can provide valuable clues about the underlying problem.
2. Diagnosing the Issue
Once you’ve identified the problem, conduct a thorough inspection of the relevant components. Check for loose or damaged parts, clogged hoses, or signs of wear and tear. Refer to the manufacturer’s manual for troubleshooting tips specific to your washing machine model.
3. Repairing or Replacing Parts
Based on your diagnosis, proceed to repair or replace the faulty components. Whether it’s a worn-out belt, malfunctioning pump, or defective motor, follow the manufacturer’s instructions for safe removal and installation. Exercise caution when handling electrical components to avoid shocks or short circuits.
Testing the Machine
After completing the repairs, it’s crucial to test the washing machine to ensure proper functionality. Reconnect the power and water supply, then run a test cycle to verify that the issue has been resolved. Monitor the appliance closely for any unusual behavior or recurring problems.
Maintenance Tips
To prolong the lifespan of your washing machine and minimize the need for repairs, adopt a regular maintenance routine. Clean the detergent dispenser, lint filter, and drum regularly to prevent buildup of debris. Inspect hoses and connections for leaks or corrosion, and replace worn-out parts promptly.
Conclusion
Repairing a washing machine may seem daunting at first, but with the right knowledge and tools, it can be a straightforward DIY task. By understanding the basics, taking safety precautions, and following a systematic approach, you can troubleshoot and resolve common issues with ease. Remember, regular maintenance is key to ensuring your washing machine operates smoothly for years to come.

Leave a Reply